

Tips & tricks
Tips and Tricks for Board Game Prototyping
You’ve spent countless hours designing your game, and now it’s finally time to share it with others beyond your circle of friends and family.
Perhaps a publisher has expressed interest in your concept, and now you need to make a professional impression with limited time and budget.
Allen Chang, 22 Oct 2023
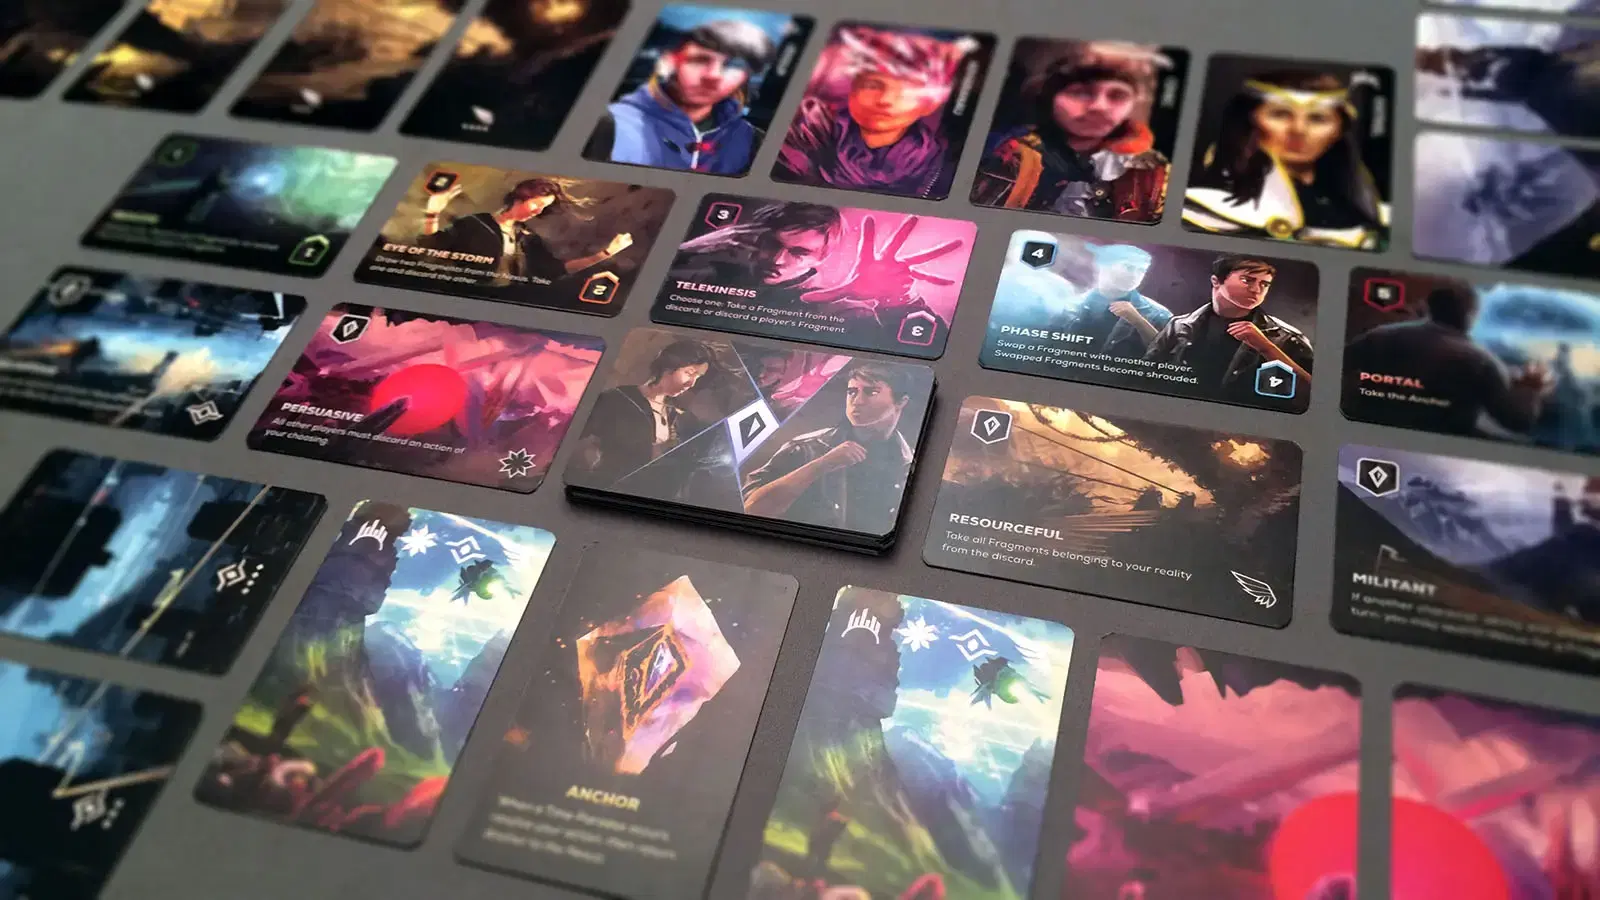
Prototype game cards
You know that crudely drawn scribbles on scrap paper aren’t going to cut it this time. You’re set to impress with limited time and a tight budget. It is time to create a proper board game prototype.
If you've tried your hand at board game prototyping at home, you’ve likely looked up a few tutorials on YouTube, such as the one below:
But for those who prefer reading, here’s a summary of essential tips for board game prototype printing.
Important Tips for Board Game Prototyping
1. Add Bleed
One of the biggest dead giveaways when it comes to telling apart a homemade prototype versus a professional-looking one is the presence of a white border. Unless you're a lucky owner of a printer that can print oversized paper prints (if so, can I live with you?), you probably own a printer that will leave a blank margin around your print.
The best way to hide your white border of shame is to cut it out. But wait, don't cut to the line! We, along with approximately a million experts in the printing industry, stress the importance of adding some bleed. Put simply, "bleed" refers to extending your artwork area beyond your cut line. After you've finished printing and cutting out your prototype, you can be sure your board game prototype won't have any exposed white edges, even if you don't have Terminator-level precision.
2. Bond Your Paper
Let's say you want to make playing cards, but typical office A4 or US letter paper is thin, flimsy, and screams, "You made this at home." The obvious choice is to go with thicker paper that makes your board game prototype printing feel more professional.
In the world of paper, "thickness" is measured by weight, or GSM (grams per square metre). If you think that’s a mobile phone service jargon, you're showing your age. A run-of-the-mill playing card can vary between 250 gsm and 330 gsm, which, at this weight scale, is referred to as card stock.
While you may be thinking, "Music to the ears, let's go with the thickest card stock and print both sides," your printer is most likely unable to handle it, and the sound of paper jamming would be the closest you'd get to a musical performance. To get around the issue of the "paper too thick" problem, consider printing on the thickest paper your printer can handle and bonding two printed papers back-to-back to achieve an "I can't believe it's not card stock" result.
While there are printers for the home that allow printing up to 200 gsm, printing prototypes on 150 gsm will still yield a decent result. Two pieces of paper bonded with adhesive can yield a sturdier card than a cardstock at similar combined weight levels.
As for the adhesive, spray-on contact adhesive (sometimes called contact cement) yields impressive results. For those who need a live demonstration on how to apply this, check out the YouTube video above. Unlike the typical application of this type of glue, you don't have to wait for the surface to dry before bonding the paper. It's okay to spray both sides and apply a wet-ish finish. This can be helpful since you get an opportunity to reapply if it's misaligned before it’s fully cured.
Finally, for those looking to create game boards, boxes, and punch boards, get greyboards (often referred to as art mounting boards) and use the same bonding method mentioned above. Bonding your paper to greyboards can elevate the quality of your board game prototype printing even further.
3. Invest in Specialty Tools
To take your board game prototyping to the next level, consider investing in the following tools:
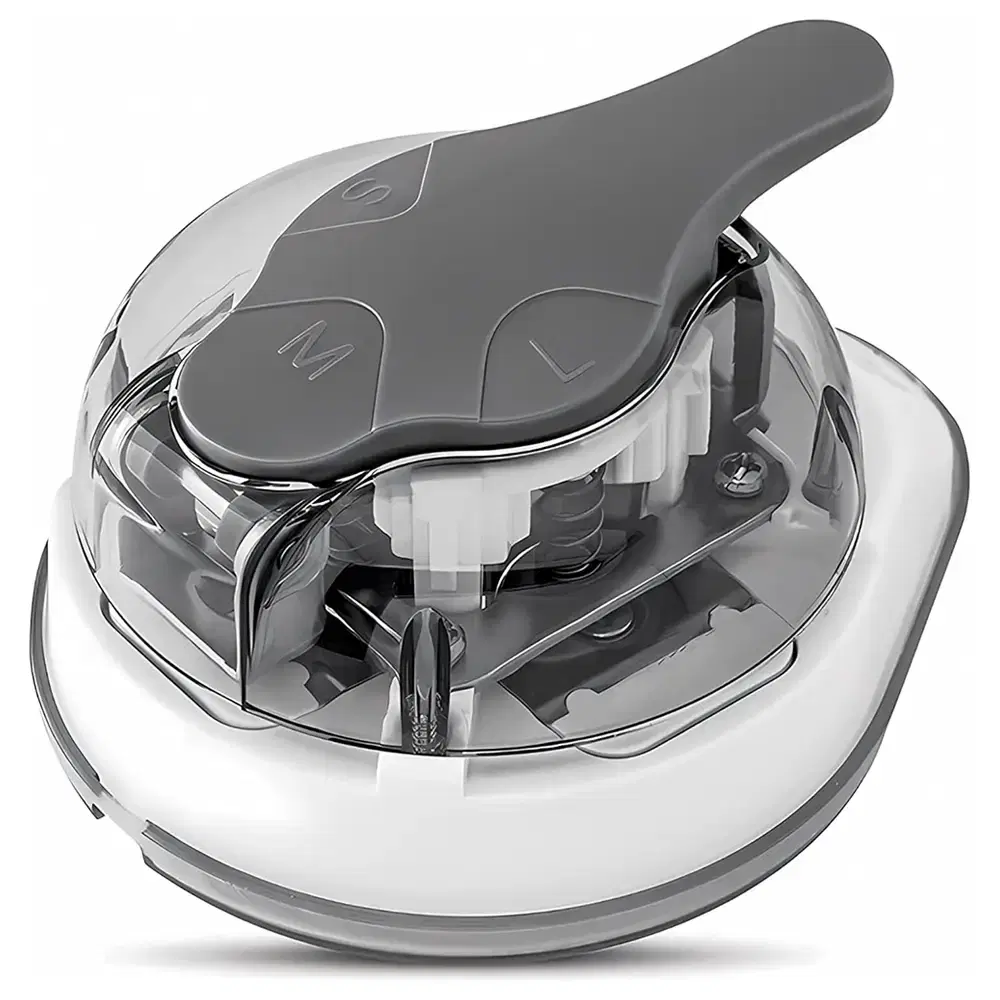
- Corner Cutter - typically used for plastic ID cards. Great for cutting rounded corners for cards, player boards, and tokens.
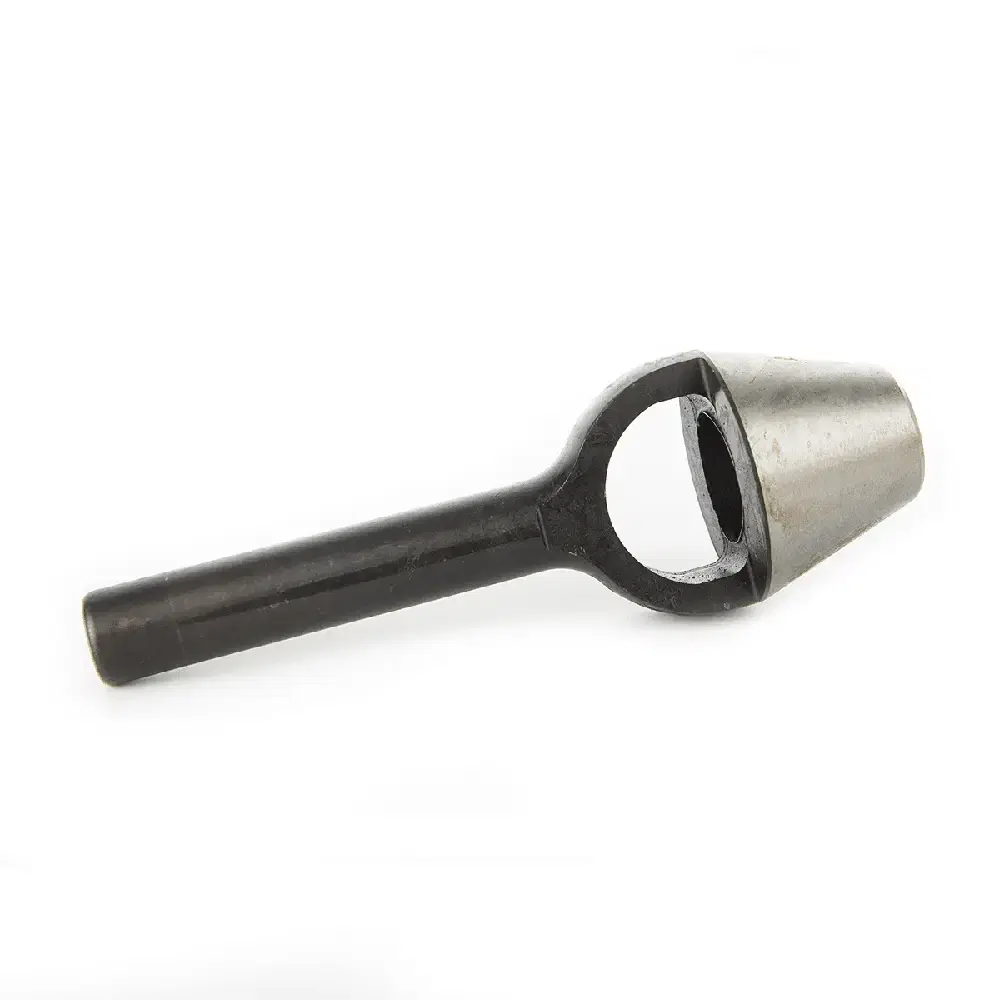
- Wad Puncher - typically used for leatherworking. Great for punching out tokens.
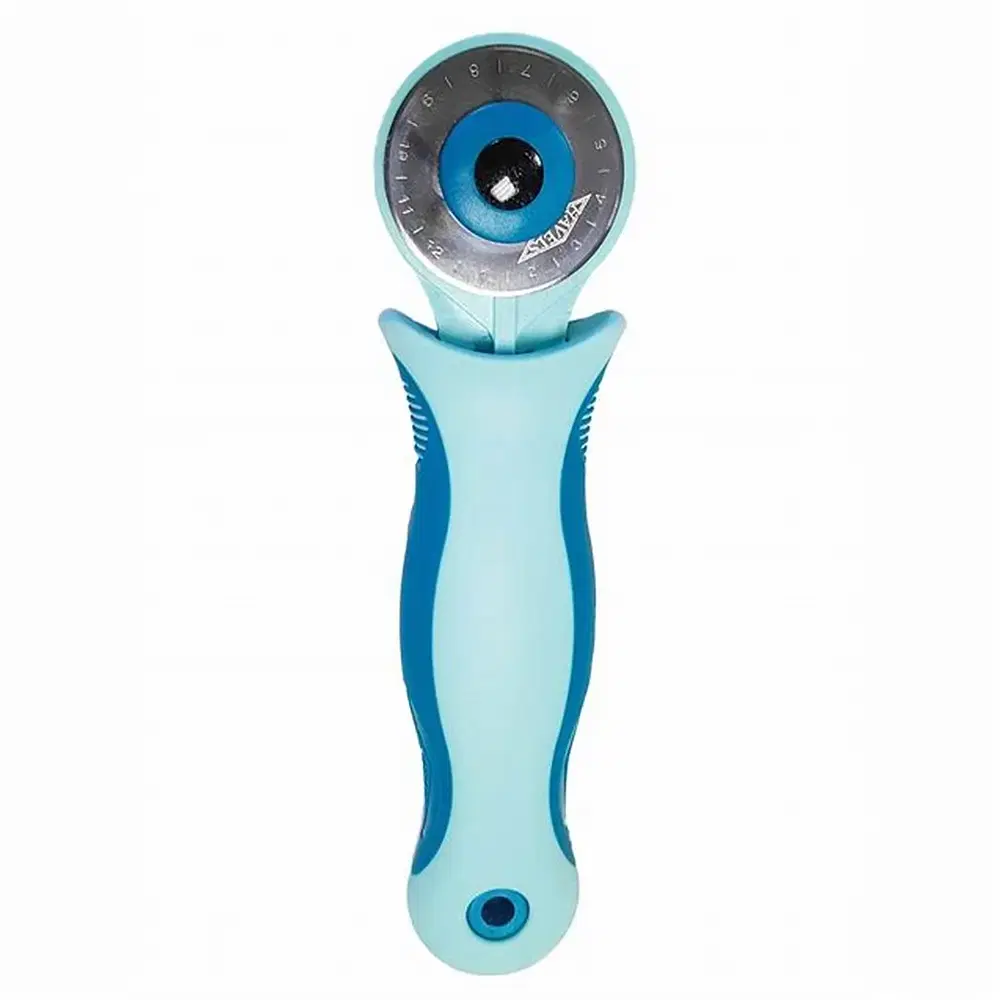
- Rotary Cutter - typically used in sewing and upholstery. Great for cutting cards and boards.
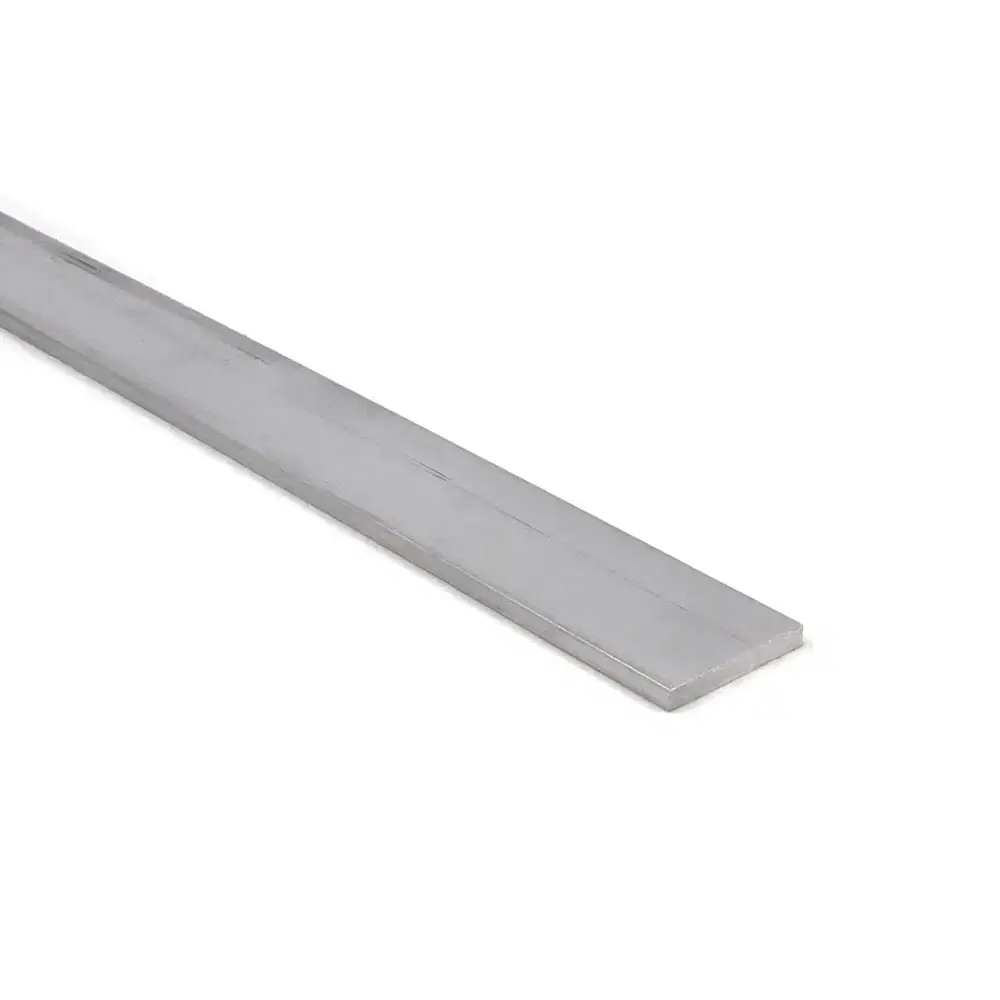
- Aluminium Flat Bar - typically used in construction. Great as a straight edge for cutting.
A few simple tools will make a huge difference to the quality you can produce.
4. Think About Outsourcing
After working on numerous prototypes throughout my lifetime, the best advice we can offer is to consider having someone else create your board game prototypes. While you will get that sense of accomplishment from making it yourself, the reality is that board game prototyping is costly, labour-intensive, and rather wasteful.
It costs more than you think
To elevate prototypes, consider using digital printing services to print your artwork. However, in terms of costs in raw materials and printing fees, excluding labour, it can often cost about the same, and sometimes even more than speciality board game print-on-demand services.
It requires more time than you think
Practically speaking, a single copy of your first card game prototype will likely take a day to make. With a couple of prototypes under your belt and ready for more complex builds, a copy of a game with a folded game board, box and punch board will still easily take a day or two to make.
That’s just making a single copy. Now, imagine having the displeasure of making a dozen copies of a game prototype. From experience, you should expect to add blood, sweat, tears, and at least two different cradle positions to your recipe.
Your quality may vary
With the above knowledge weaponised, you should have no issues making professional-looking board game prototypes. However, the biggest kryptonite for any homemade prototype is maintaining consistency across multiple copies. For example, if you need to make 10 copies, prepare at least 13 copies before collating the best-looking ones and scrapping the rest (or using them as personal test copies). If you are ever tasked to make that many copies of a game, best prepare yourself, as it's going to be an extremely long grind.
5. Build with Playtesting in Mind
When putting together your prototype, think about how effectively it supports testing, not just its appearance. Early-stage board game prototyping should prioritise clarity and usability over polish. That means using bold, legible text, avoiding cluttered layouts, and ensuring icons or colours are easy to distinguish at a glance. This helps testers focus on gameplay rather than deciphering your components.
Additionally, consider how quickly your prototype can be tweaked between playtests. For example, card backs with a universal design allow for easy mixing and sorting, while using placeholder art and labels keeps edits fast and low-effort. By designing your components for fast iteration, you’ll save time and make your board game prototype printing process much more efficient across multiple versions.
Consider Using a Service like Launch Lab
If you have never tried board game prototyping yourself, I encourage you to give it a go at least a couple of times to get an appreciation for the work that goes into making board games. You'll learn a lot in the process and might even pick up on details you might not have known otherwise, the next time you pick up and play your favourite board game.
Perhaps you've already tried your hand at making board game prototypes and know that the time and cost required aren't worth the effort. This is why we created Launch Lab, a board game print-on-demand service that eliminates the hassle and pain of making your own. Give yourself the time to focus on the important stuff, like making the best game ever.
Besides getting someone else to make your board game prototypes, Launch Lab has some additional benefits that set it apart from other print-on-demand services.
Retail quality
Every game made through Launch Lab is retail-ready. That means if you put a game made through Launch Lab next to a game you pick up at a retail store, you would be hard-pressed to spot the one made using Launch Lab. This is made possible because many of the tools and machines used to make a Launch Lab game are the same ones used to make mass-production retail games.
Whether you are printing a board game prototype or a retail game, your game will be on par with the best-in-class games.
Consistency
One of the biggest issues with board game prototyping is maintaining consistency between copies of your game. One of the biggest woes in production that must be whispered in hushed tones is "drift". Drift refers to the error introduced during printing and cutting. A few millimetres of drift will mean the difference between a beautifully even border and one with edges that seem to go past the abyss. Even some print-on-demand services have difficulty taming the drift issue, so you can imagine how hard it would be for homemade prototypes.
At Launch Lab, we are particularly proud that we take exceptional care in minimising drift and take the same care with print-on-demand games as we do with any of our mass-production games.
Cost-Effectiveness
Making a board game prototype at home can be deceptively expensive. If you factor in the costs of materials, printing, and labour, you might be pleasantly surprised that Launch Lab is quite comparable. If you're planning to send your prototype to publishers or playtesters, doing so directly from Launch Lab might save you even more.
Lastly, when you're at a point where you’re looking to scale up your production, such as for convention demos or limited-run prints, the economy of scale with Launch Lab shifts from "affordable prototypes" to "I can make a profit."
If you've read the entirety of the article and found it helpful, why not give Launch Lab a go right now? Seriously, what are you waiting for?
Keywords
Related articles in 'Tips & tricks'
Build your game on a budget
Tania Walker, 28 Aug 2023
Boost your game's table presence
Tania Walker, 28 Aug 2023
Go green with your game
Tania Walker, 23 Aug 2023

